.webp)
.svg)
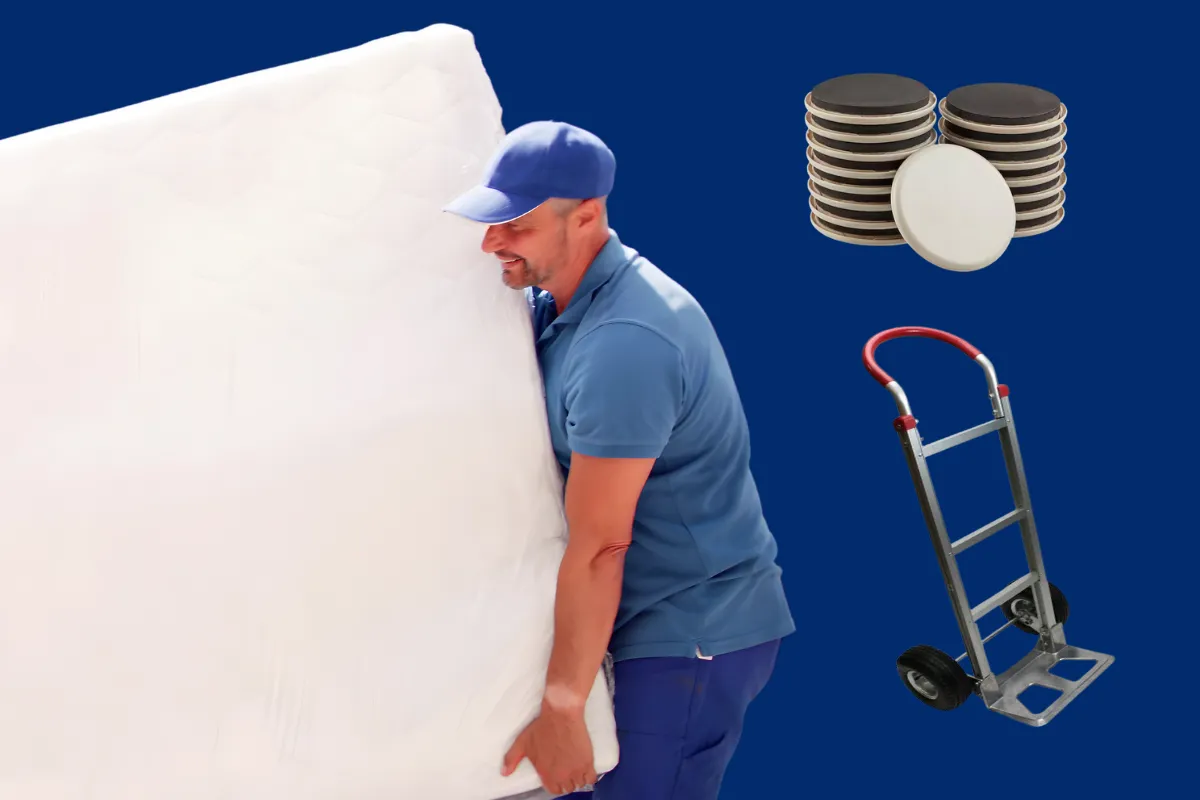
Packing your kitchen for a move is often the most challenging part of the relocation process. With its mix of fragile dishware, heavy appliances, sharp utensils, and daily essentials, the kitchen demands a strategic, zone-by-zone approach. Whether you’re moving across Alexandria, VA, or planning a long-distance relocation, following a proven system will protect your belongings, minimize disruption, and make unpacking at your new home much easier.
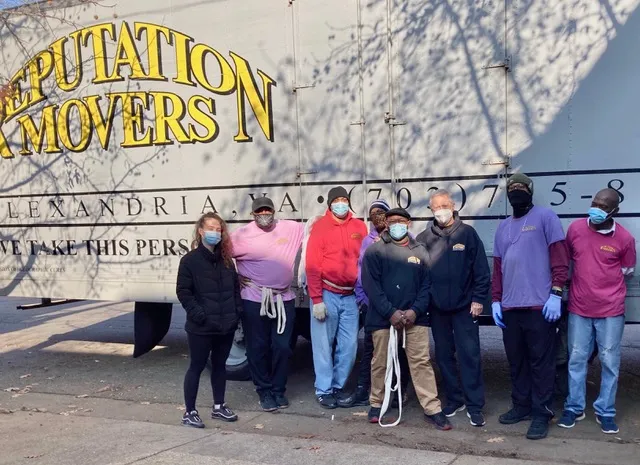
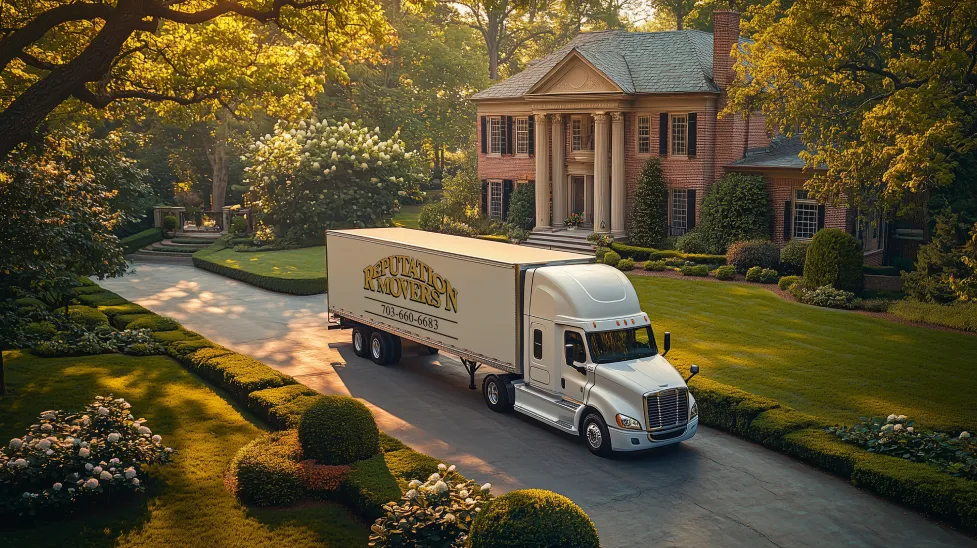
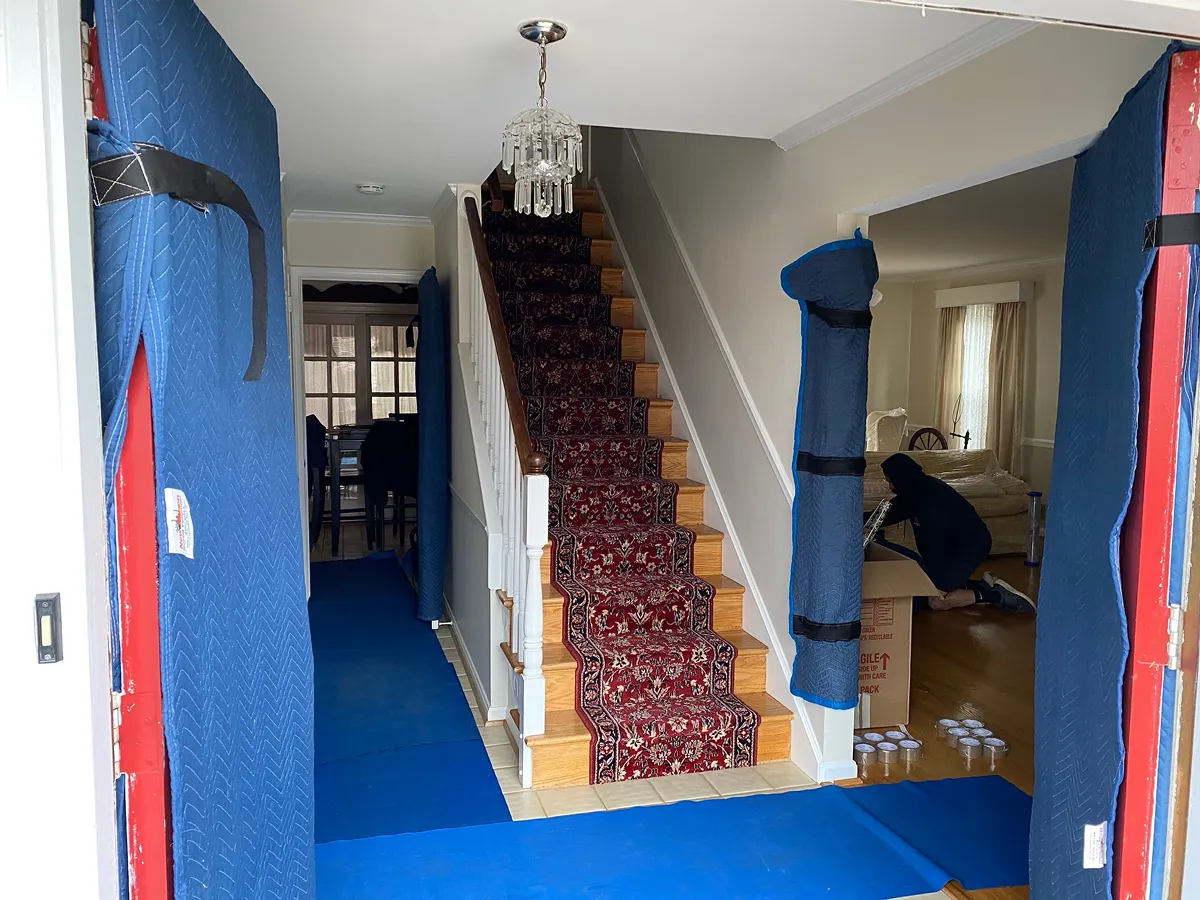
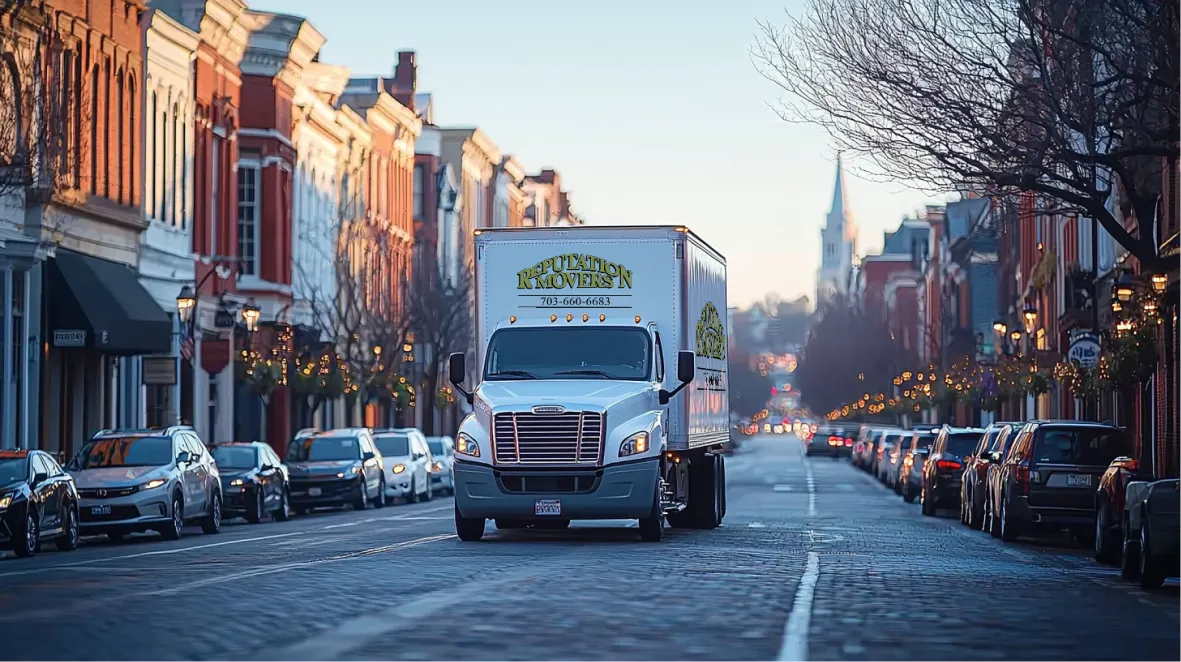
Serving Alexandria, VA, Reputation Movers combine local expertise with long distance moving experience. If you have any questions at any point in this guide, do not hesitate to contact Reputation Movers.
Why Packing the Kitchen Is Different
The kitchen is unique because it contains a wide variety of items, some fragile, some bulky, and many used daily. A successful kitchen pack-out requires careful sequencing, specialized packing materials, and a clear labeling system. By dividing the kitchen into zones and packing in a specific order, you can keep your household running smoothly right up to moving day while reducing the risk of breakage and lost items.
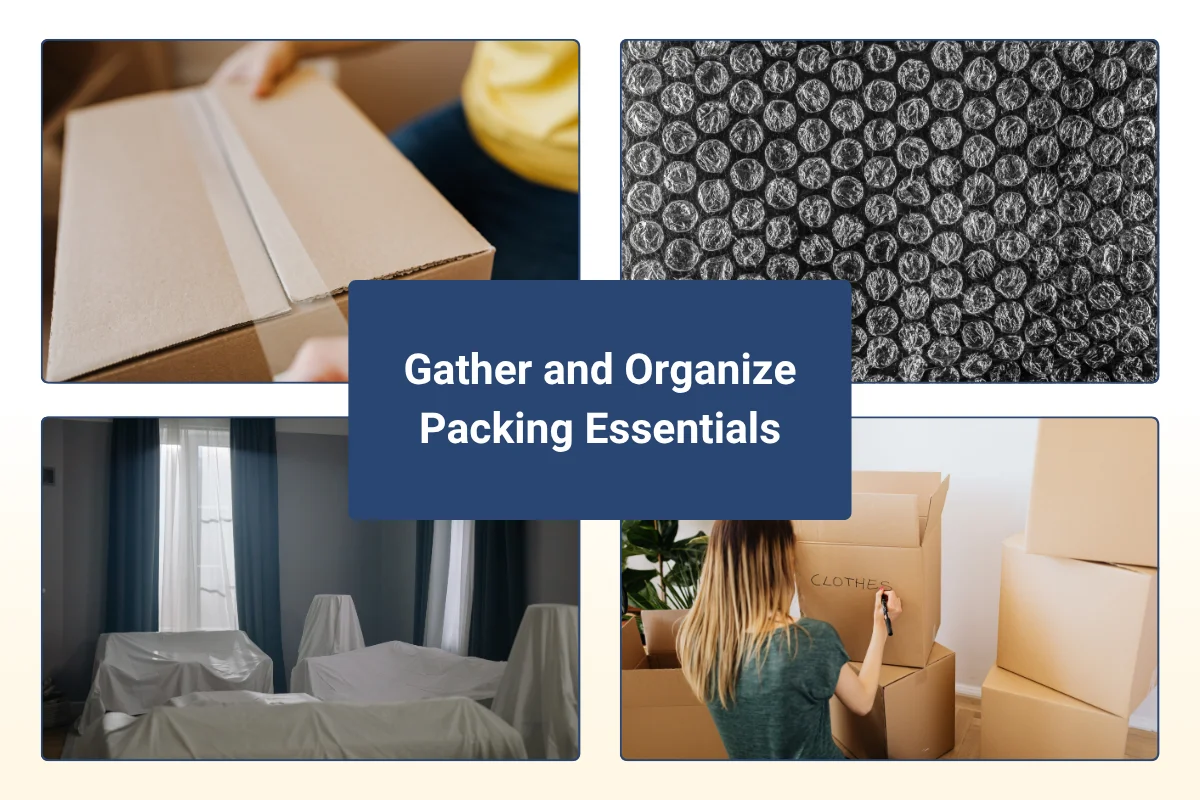
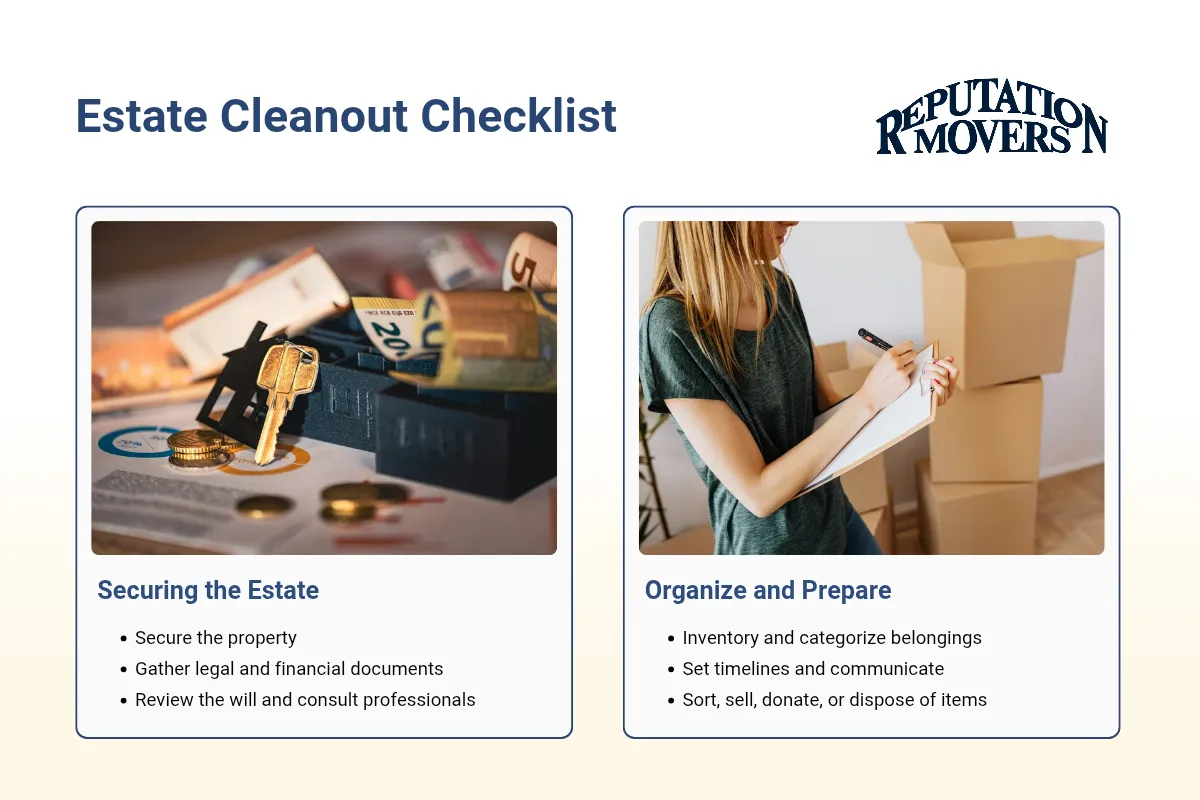
Preparation: Declutter and Gather Supplies

Declutter First to Lighten the Load
Before you pack a single box, take time to declutter. Go through each kitchen zone—upper cabinets, lower cabinets, pantry, drawers, and countertops. Toss expired pantry goods, donate duplicate gadgets, and get rid of broken or rarely used items. This step can reduce your packing needs by 20-30%, cutting the average kitchen from 15-25 boxes down to 10-15, saving both time and money on supplies and moving costs.
Set Aside an Essentials Box
Designate an “essentials box” early in the process. This should include one plate, bowl, mug, and utensil set per person, plus your coffee maker, toaster, a pan, dish soap, and cleaning cloths. Keep this box accessible until moving day, and plan to transport it yourself so you can set up your new kitchen quickly.

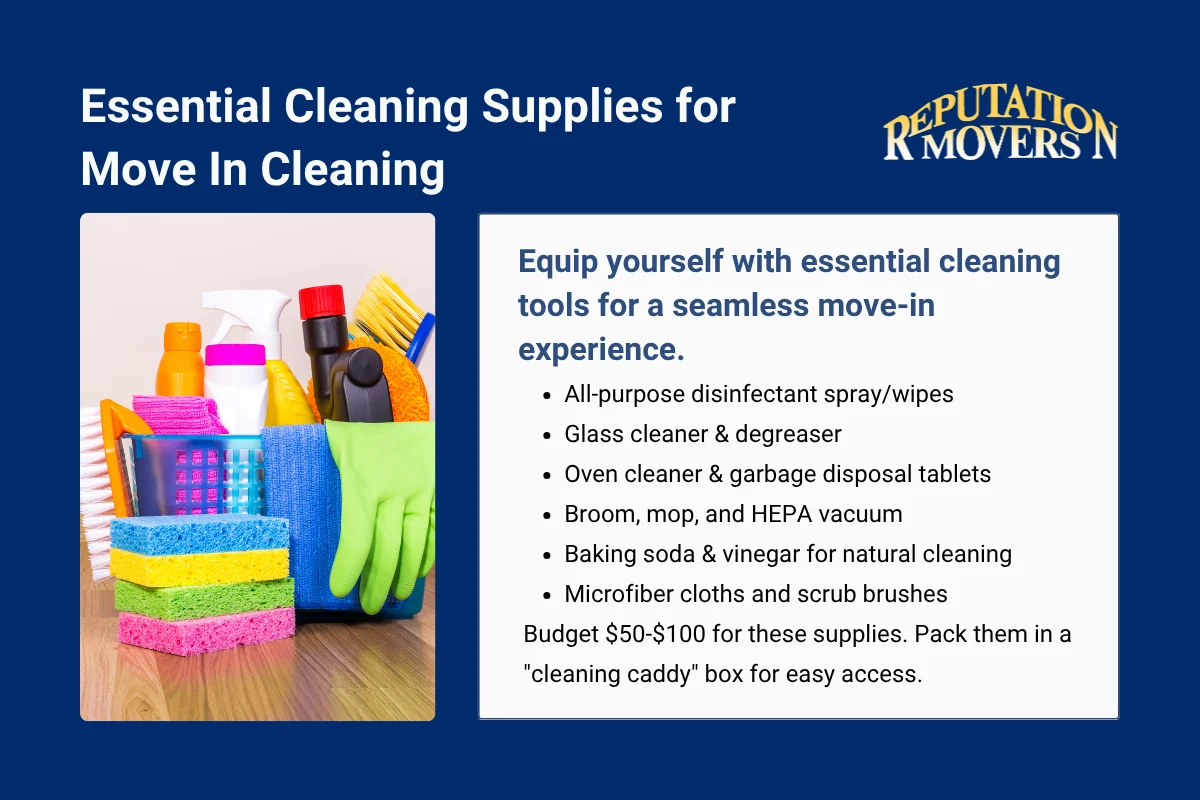
Gather the Right Packing Supplies
Having the correct supplies on hand will make the process smoother and safer for your belongings. You’ll need:
Small boxes (1.5 cu ft) for dishes, canned goods, and small appliances
Medium boxes (3 cu ft) for pots, pans, and light gadgets
Dish pack boxes with dividers for glassware and fragile items
Bubble wrap, packing paper, and foam peanuts
Packing tape and permanent markers
Colored tape or labels for room identification
Glass divider kits for stemware
Budget $100-400 for DIY supplies, or expect to pay $500-1,000 extra if you hire professionals to pack your kitchen.

Zone 1: Rarely Used Appliances and Seasonal Items
Start with Upper Cabinets and Pantry
Begin by packing items you use the least, such as waffle makers, slow cookers, fondue sets, and holiday serveware. Clean each appliance thoroughly, disassemble removable parts, and wrap everything in two to three layers of bubble wrap. Whenever possible, use the original boxes. If not, choose snug-fitting medium or large boxes and fill any empty spaces with foam peanuts or towels to prevent shifting.
For pantry items, tape dry goods shut, seal liquids in plastic bags, and use small boxes to avoid overloading. Donate unopened, non-perishable food to local food banks. Pack cookbooks flat in small boxes to prevent warping.
Label for Easy Unpacking
Label these boxes as “Kitchen – Rarely Used Appliances – Fragile” and use a color-coding system (such as green tape for kitchen items) to make unloading and unpacking more efficient.
Zone 2: Cookware and Less Frequent Utensils
Pack Pots, Pans, and Baking Trays Safely
Next, move on to pots, pans, baking trays, and utensils you don’t use every day. Clean each item, wrap it in packing paper using the diagonal tuck method, and nest smaller items inside larger ones to save space. Place two layers of bubble wrap at the bottom of each box, stack three to four nested sets, and fill gaps with towels or sponges. Never mix cookware with dishes in the same box—pots and pans should go in medium boxes labeled “Kitchen Cookware – Heavy”.
Bundle and Protect Sharp Utensils
For silverware and knives, group similar items together, tape them securely, and wrap in packing paper. Place these bundles in a small box lined with extra paper, and clearly label the box as “Sharp – Kitchen Drawers.” For oddly shaped items like pitchers, double-wrap handles for added protection.
Zone 3: Fragile Dishes and Glassware
Wrap and Pack Dishes with Care
Dishes and glassware are the most breakable items in your kitchen, so take extra care. Sort dishes by type, starting with the heaviest plates. Wrap each plate in two to three sheets of packing paper, using the corner-over-roll-tuck method. Stack three to five plates vertically (on their edges, not flat) in a dish pack box lined with two inches of crumpled paper at the bottom. Pad between layers and fill any voids to prevent shifting. For heirlooms or valuable pieces, double-box for extra protection.
Protect Bowls, Platters, and Glassware
Wrap and nest bowls in sets of two or three, standing them on their edges. Platters should be wrapped in four to five sheets of paper plus bubble wrap, and placed flat on top of the vertical plates. For glasses and stemware, use dividers and wrap each piece burrito-style, focusing on rims and handles. Pack glasses upright, with rims facing up, and use bubble wrap for stems. Never stack glasses on top of each other. For wine and liquor bottles, pack upright and separate with cardboard or towels.
Label Fragile Boxes Clearly
Mark these boxes as “Kitchen Dishes/Glass – FRAGILE – THIS SIDE UP” on multiple sides, and use arrows to indicate the correct orientation. Color-code with green tape for the kitchen and make sure the labels are visible from all angles.
Zone 4: Small Appliances and Sharp Knives
Securely Pack Countertop Appliances
After the main cookware and dishes, focus on small appliances like toasters, blenders, and air fryers. Clean and dismantle each appliance, wrap the body and parts separately in three layers of bubble wrap, and fill the box with foam peanuts to prevent movement. Manuals and small parts should be bagged and taped to the appliance or placed in the same box.
Knife Safety Is Essential
Sort knives by type, roll each in four to five sheets of packing paper, and bundle them in groups of four. Place these bundles in a small, lined box with one to two inches of padding between each group. Label the box “KNIVES – SHARP” and keep it separate from other kitchen items for safety.
Zone 5: Daily Essentials and Final Items
Pack the Last-Used Items Last
On the final day, pack your daily essentials: the plates, mugs, cutlery, and one pan set you’ve been using up to moving day. Wrap these items minimally and place them in your “Open First” box, clearly marked with a star or special tape. This box should travel with you, not in the moving truck, so you can set up your new kitchen right away.
Labeling Strategies for Maximum Efficiency

Color Coding and Clear Instructions
Use a unified labeling system for all kitchen boxes. Assign a color (such as green) to all kitchen items, write the contents and handling instructions (“Plates – Fragile – Up”), and number each box for inventory. Cover old markings with tape or marker, and use plastic label pockets for boxes that will be stored. This system streamlines both loading and unloading, and helps you find what you need quickly in your new home.
Unpacking: Reverse the Sequence
When you arrive at your new home, unpack in the reverse order: start with your essentials box, then daily items, followed by glassware, cookware, and finally rarely used appliances. This approach ensures you can function in your new kitchen immediately, while gradually restoring full functionality as you settle in.
Pro Tips for a Smooth Kitchen Move
To make your kitchen move even easier, keep these expert tips in mind:
Start packing four to six weeks before your move, tackling one zone per day to maintain kitchen usability.
Nest smaller gadgets inside larger ones to save up to 20% of box space.
Use vertical packing for plates and bowls to reduce breakage risk by up to 80%.
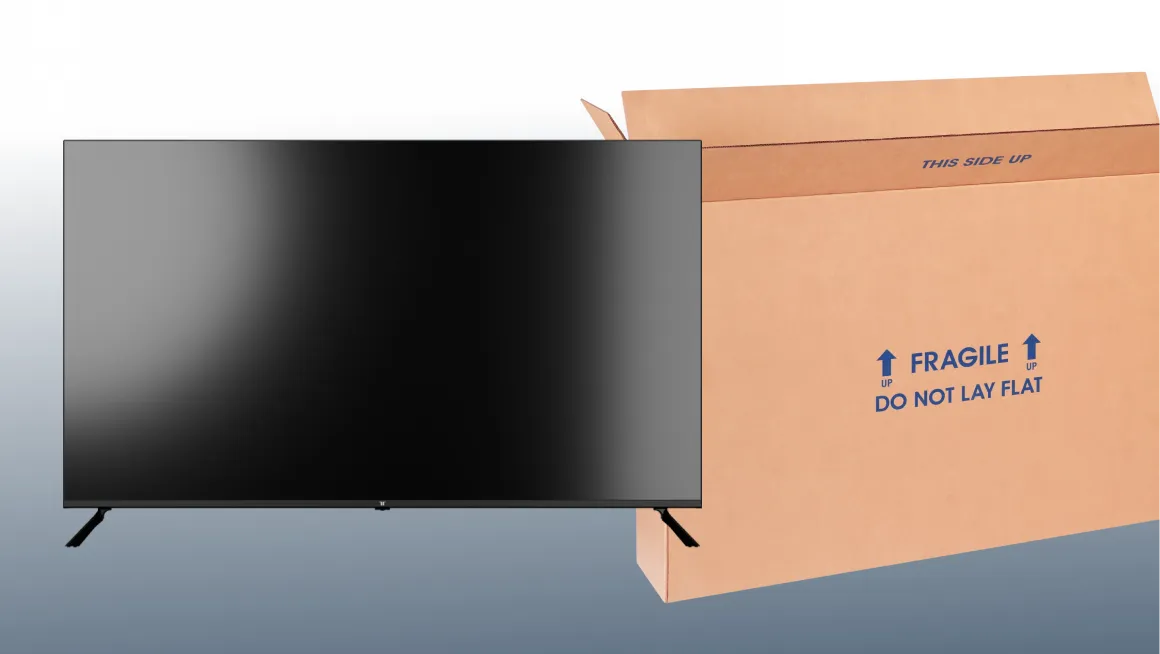
For large appliances like refrigerators and ovens, clean and detach parts, and use a professional dolly for safe transport.
Keep a packing station near the kitchen for efficient wrapping and boxing.
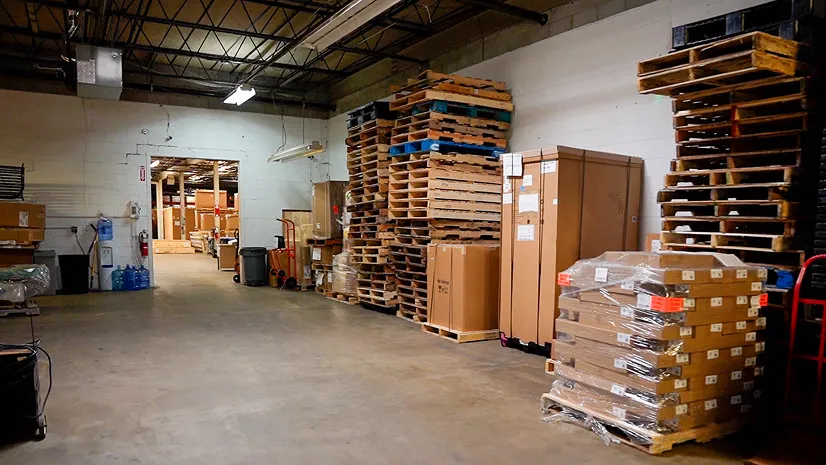
Why Choose Reputation Movers for Your Kitchen Move?
Packing a kitchen is a complex, time-consuming task that requires attention to detail and the right materials. Reputation Movers in Alexandria, VA, are experts in both local and long-distance moves, with a proven track record of protecting fragile kitchen items and ensuring a smooth transition. Our team uses professional packing techniques, high-quality materials, and a systematic approach to minimize risk and maximize efficiency.
If you want peace of mind and a stress-free moving experience, contact Reputation Movers today. We’re ready to help you pack, move, and settle into your new home with confidence.


.webp)
.webp)
.webp)
.webp)
.webp)
.webp)


.webp)
.webp)


.png)